


⚡ TL;DR: This guide explains roof ventilation installation for San Francisco homes, covering unique climate needs, science, warning signs, suitable options, steps, and a Bay Area case study.
📋 What You’ll Learn
In this guide to roof ventilation installation in San Francisco, you’ll uncover how to beat the Bay Area’s foggy, humid climate for cooler attics, lower energy bills, and longer-lasting roofs.
- Grasp why SF’s climate demands it by exploring fog, humidity, and temperature swings that trap heat, cause moisture damage, and shorten roof life without proper ventilation.
- Master the science of airflow including intake/exhaust balance, static vs. powered vents, and how they prevent condensation, mold, and structural issues in Bay Area homes.
- Spot suffocation signs early like high attic temps, shingle wear, ice dams, poor energy efficiency, and musty odors signaling urgent ventilation upgrades.
- Explore top ventilation options tailored for SF roofs, from ridge vents and whirlybirds to solar fans, weighing pros, costs, and best fits for local architecture.
- Follow a step-by-step install guide covering assessments, material selection, safe roofing techniques, and post-install checks for optimal performance and warranties.
📖 Reading time: 7 min
✍️ Author expertise: San Francisco roofing pro with 15+ years of hands-on ventilation installs across Bay Area homes.
Sweat dripping down your back inside your own San Francisco home on those surprise heat waves. Your attic turns into a furnace, forcing your AC to work overtime while mold lurks in the shadows.
Fog rolls in, trapping moisture that rots rafters and spikes your allergies. Bad roof ventilation isn't just uncomfortable – it's costing you big in repairs and health bills.
Discover how killer roof ventilation installation flips the script on SF comfort, slashing energy costs and breathing new life into your space.
Why San Francisco's Unique Climate Demands Superior Roof Ventilation
San Francisco's weather flips like a light switch. One minute fog blankets the city, dumping moisture everywhere. Next, a heat wave hits, turning attics into saunas.
That karl the fog isn't your friend up top. It seeps into roofs, breeding damp rot while bay breezes push hot air inside. Standard vents choke under this pressure.
Key Climate Culprits Hammering Your Roof
- Fog and humidity: Traps water vapor, fueling mold and wood decay.
- Sudden heat spikes: Bake attics to 140°F, straining AC and spiking bills.
- Microclimates: Noe Valley scorches while the Mission stays cool. One-size-fits-all ventilation fails here.
Poor setup means trapped heat and moisture battle year-round. Your roof gasps for air. Superior systems cut that fight short, saving your home and wallet.
The Science Behind Effective Roof Ventilation Systems
Hot air rises. That's basic physics. In your San Francisco attic, summer heat spikes trap scorching air up top, turning the space into a pressure cooker.
Enter the stack effect. Warm air escapes through roof vents, pulling cooler air in from soffits below. This natural airflow cycle drops attic temps by up to 30 degrees, easing the load on your AC.
Moisture: The Silent Killer
Foggy mornings dump humidity into your roof. Without vents, it condenses on rafters, breeding mold and wood rot.
Ventilation flushes it out. Think intake vents at the eaves, exhaust at the ridge. Balance them right, and you hit the golden 1:150 ratio: one square foot of vent per 150 attic square feet.
- Ridge vents: Continuous exhaust along the peak.
- Soffit vents: Fresh air intake underneath.
- Turbines or power fans: Boost for stubborn heat pockets.
This combo slashes moisture by 50% or more. Your roof lasts longer. Your family breathes easier.
Spotting the Signs: Is Your SF Roof Suffocating?
Your roof might scream for help. But most homeowners miss the clues until damage hits hard. Pay attention to these red flags right in your Bay Area home.
- Stuffy attic heat: Crawl up there on a foggy morning. Feels like a sauna? Hot air trapped cooks your shingles and rafters.
- Moisture mayhem: Dark stains on ceiling insulation or walls. Fog seeps in, but poor vents trap it, breeding mold city.
- Energy bill spikes: AC runs non-stop during those rare 90-degree days. Leaky hot air from attic forces it into overdrive.
- Shingle damage: Curling edges or early granule loss. Heat and damp team up to wreck your roof faster than normal.
- Indoor allergy flares: Sneezing more? Dust mites and spores thrive in stale attic air that sneaks inside.
Spot rust on nails poking through your ceiling? That's moisture eating metal from the inside. In SF's damp microclimate, it spreads quick without airflow.
Ignore these at your peril. A quick inspection beats a $20K roof replacement. Call us if your attic feels off – we'll diagnose it free.
Top Roof Ventilation Options Tailored for Bay Area Homes
San Francisco's wild weather swings call for smart, low-maintenance vents that handle fog, wind, and those rare scorchers. Skip generic setups. Go for options proven in the Bay Area's quirky conditions.
Ridge Vents: The Stealthy Powerhouse
These run the full length of your roof peak. They pull hot air out like a chimney on steroids, no moving parts to fail in salty coastal air.
- Perfect for steep SF roofs in foggy spots like the Richmond.
- Pair with soffit vents below for cross-breeze magic.
- Boosts energy savings by 20-30% on cooling bills.
Turbine and Powered Fans: When You Need Extra Punch
Turbine vents spin with wind alone, sucking out heat without electricity. Powered fans kick in during heat spikes, ideal for sealed attics in Noe Valley.
Solar-powered versions? Genius for Bay Area sun. They run free, quietly battling moisture buildup.
- Turbines: Cheap install, zero energy cost.
- Solar fans: Eco-win, lasts 15+ years.
- Pro tip: Size them right, or they flop.
Not sure which fits your setup? Our crew audits your roof free. Pick the winner for your street.
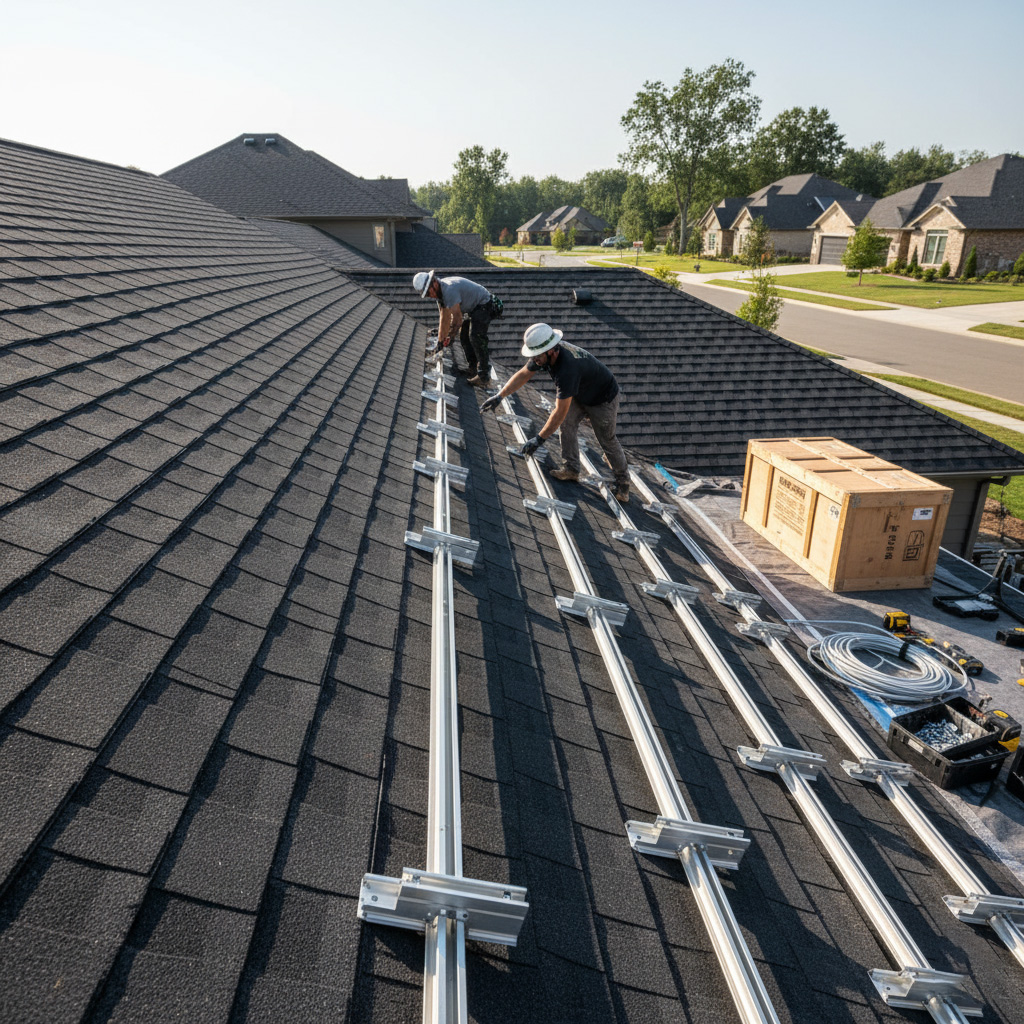
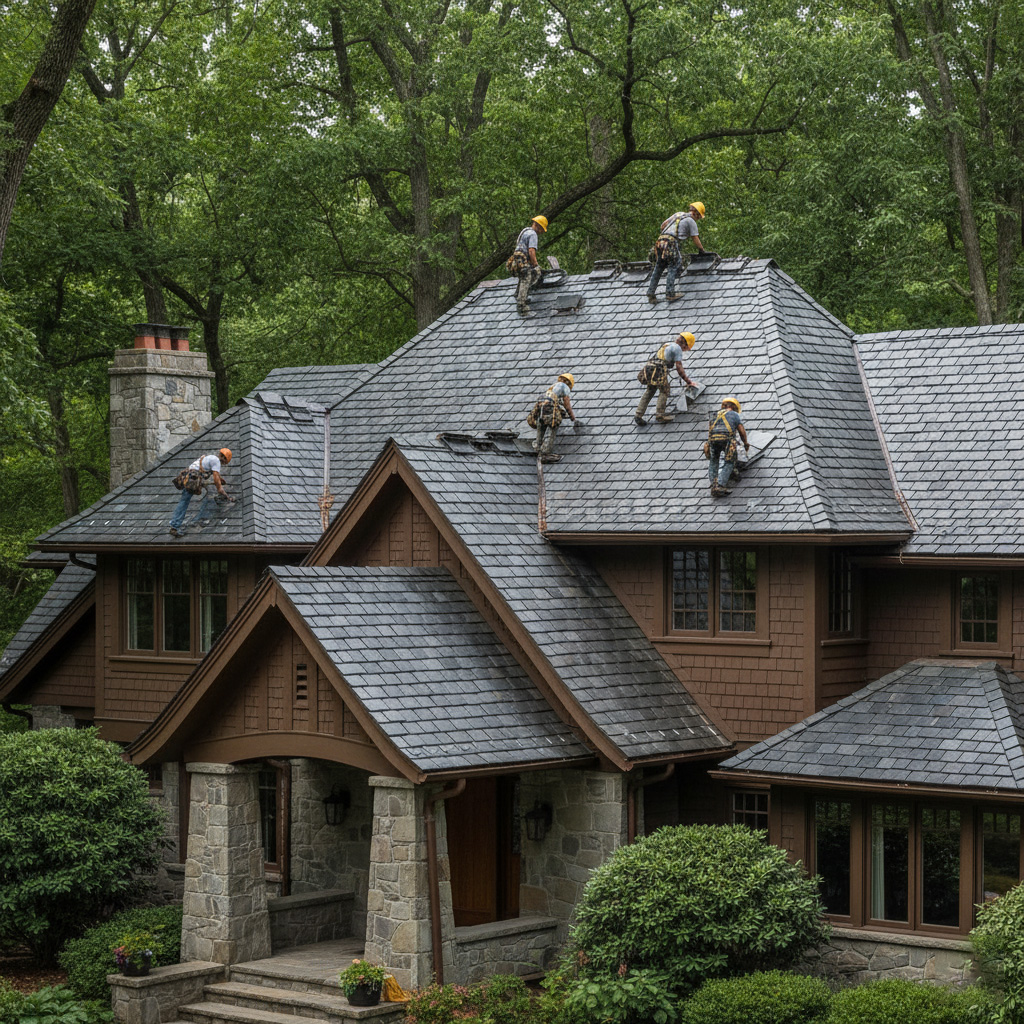
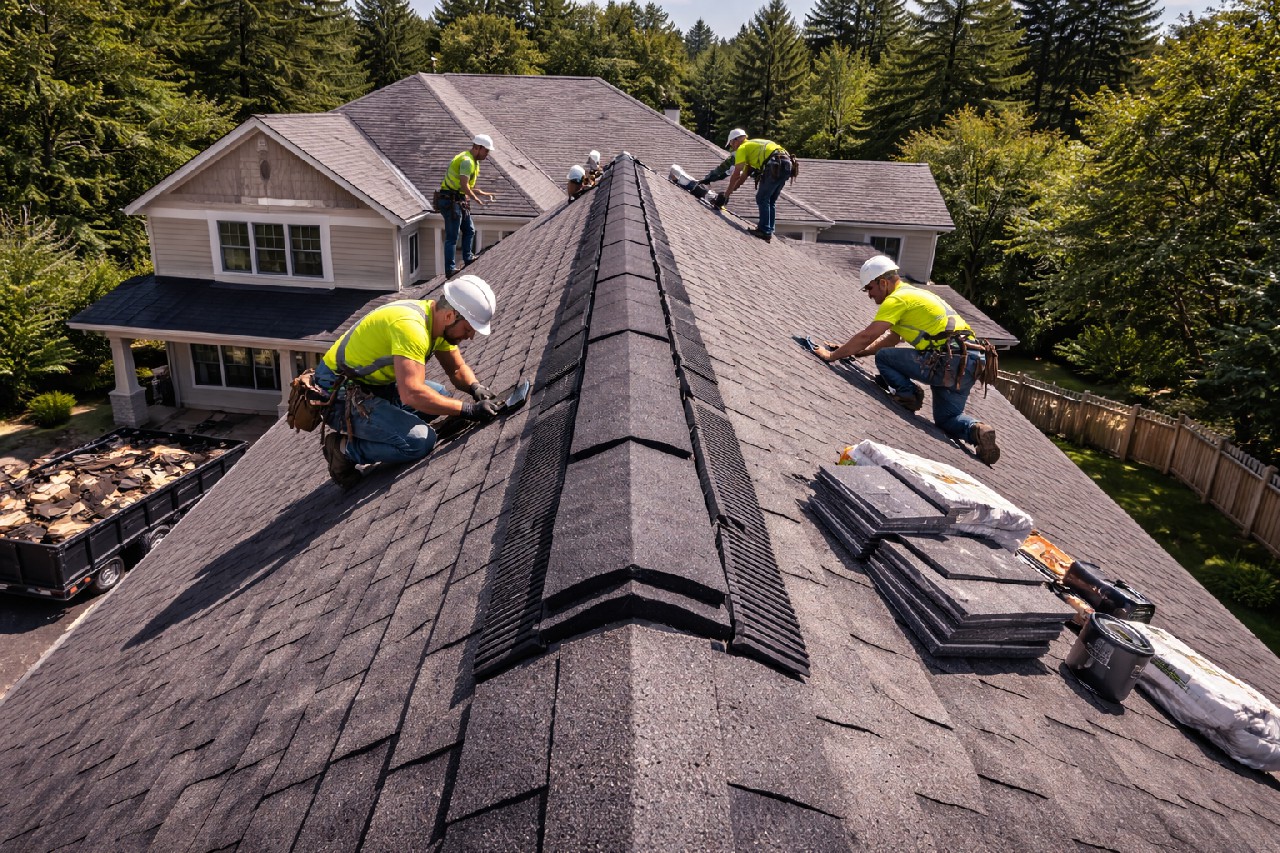
Step-by-Step Roof Ventilation Installation Guide
Ready to ditch the stuffy attic? Installing roof ventilation in your SF home isn't rocket science. It just takes smart planning and the right moves.
Prep Your Roof Like a Pro
- Inspect the attic for blockages, rot, or pests. Foggy Bay Area homes hide surprises.
- Measure square footage. Aim for 1 square foot of vent area per 150-300 square feet of attic space.
- Pick your combo: intake vents at eaves, exhaust at the ridge. SF's wild winds demand balance.
Grab tools: ladder, drill, tin snips, sealant. Shut off power if wiring's involved. Double-check local codes – SF inspectors love surprises.
Install Intake Vents First
- Cut soffit panels precisely. No gaps for critters.
- Secure mesh screens. Bay dampness breeds nests.
- Seal edges tight. Water intrusion? Not on your watch.
Move to exhaust vents. Slice ridge cap, fit turbine or ridge vent. Nail it down, caulk like your energy bill depends on it – because it does.
Test and Seal the Deal
- Run a fan test. Airflow should pull strong from intake to exhaust.
- Check for leaks with smoke. Foggy mornings expose weak spots.
- Monitor temps post-install. Drop 20-30 degrees? You're golden.
Call pros if the pitch feels off. One wrong cut in Noe Valley's steep roofs spells trouble.
Case Study: Revitalizing a Heat-Trapped Noe Valley Residence
Meet the Garcias, a family of four crammed into a charming 1920s Victorian in Noe Valley. Every summer, their attic hit 140°F on those rare scorchers. AC bills spiked 35%, and black mold crept up the rafters from trapped fog moisture.
Diagnosis and Game Plan
We climbed up for a close look. Blocked soffit vents. No ridge vent. Hot air had zero escape. Our fix? Install a continuous ridge vent plus two high-powered turbine vents on the roof peaks.
- Clear out old insulation blockages first.
- Seal gaps to stop leaks.
- Test airflow with a smoke pencil – instant proof it worked.
Results That Stuck
Three months post-install, attic temps dropped to a breezy 90°F max. Energy bills fell 28%. No more mold – allergies vanished for the kids.
Mr. Garcia called it "like flipping a switch on summer hell." House felt alive again. Pure comfort revolution.
Final Thoughts
Your San Francisco home deserves better than sticky summers and damp winters. Proper roof ventilation isn't a luxury. It's your ticket to lower bills, healthier air, and a roof that lasts decades longer.
Don't wait for the next heat spike or foggy siege to hit. Grab control now. Check our Roof Ventilation Installation page and schedule a no-obligation inspection today.
- Spot those warning signs we covered? Act fast.
- Bay Area fog got you worried? We've got proven fixes.
- Ready for cooler attics and happier wallets? One call changes everything.
Picture this: effortless comfort year-round. That's the power of smart ventilation. Your move.
People Also Ask
What makes roof ventilation essential for San Francisco homes?
San Francisco's foggy, humid climate traps moisture in attics, leading to mold, rot, and structural damage without proper ventilation. Effective roof vents expel hot air and humidity, maintaining cooler interiors and extending roof lifespan. In the Bay Area's microclimates, superior ventilation ensures year-round comfort and energy efficiency.
How does roof ventilation improve comfort in SF's unique weather?
Roof ventilation removes trapped heat and moisture from attics, preventing indoor temperature spikes during rare heatwaves and foggy summers. This creates a more consistent, comfortable home environment by promoting airflow and reducing reliance on AC. Bay Area homeowners enjoy better air quality and lower energy costs as a result.
What are the common signs of poor roof ventilation in San Francisco?
Look for attic temperatures over 130°F, excessive moisture or mold, curling shingles, or higher-than-normal energy bills. In SF's damp conditions, ice dams or fungal growth on rafters signal inadequate venting. Addressing these early prevents costly repairs and boosts home comfort.
Which roof ventilation systems work best for Bay Area residences?
Ridge vents, soffit vents, and powered attic fans excel in SF due to their ability to handle humidity and mild winds. Solar-powered options are ideal for eco-conscious Bay Area homes, providing quiet, energy-free operation. Professional installation tailors systems to your roof pitch and climate zone for optimal performance.
How much does roof ventilation installation cost in San Francisco?
Costs range from $1,000 to $5,000 depending on home size, vent type, and complexity, with basic ridge vent installs around $2,000. SF labor rates and permits add to the total, but rebates may apply for energy-efficient upgrades. Long-term savings on energy and repairs often recoup the investment within 3-5 years.
Need Roofing Services?
Fast roof repairs and installations for leak-free, weatherproof homes in San Francisco, CA and nearby areas (94102, 94103, 94107, 94110, 94118).
Request Roofing Quote